How to Fit Laminate Flooring (Step-by-Step Guide)

Overview of the process: prepare, underlay, first row, continue and finish.
Tools You’ll Need
- Measuring tape & pencil
- Spacers (10 mm)
- Rubber mallet, tapping block & pull bar
- Jigsaw or handsaw (fine-tooth)
- Utility knife & square
- Underlay (with vapour barrier if on concrete)
Step-by-Step Guide
- Acclimatise the planks (48 hours). Store the packs flat in the room.
- Prepare the subfloor. It must be clean, dry and level (typically ±2 mm over 2 m). Fix squeaks, scrape high spots, and fill low ones.
- Lay the underlay. Roll it out, butt edges (don’t overlap), and tape seams. Add a moisture barrier on concrete if your underlay doesn’t include one.
- Plan the layout. Measure the room and calculate row widths so the last row is at least 60–80 mm wide. Stagger end joints by >300 mm.
- Fit the first row. Place 10 mm spacers at walls. Click planks end-to-end with the tongue toward the wall; ensure the row is dead straight.
- Build subsequent rows. Angle-click the long side, then use a tapping block to close gaps. Keep joints tight and lines straight.
- Cut around obstacles. Undercut door frames if possible; otherwise scribe and cut. Leave the 10 mm expansion gap all around.
- Install the final row. Rip planks to width. Use the pull bar to lock them in cleanly.
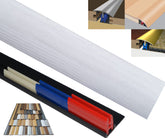
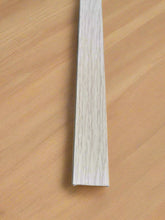
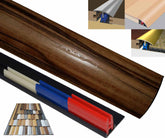
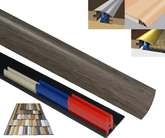
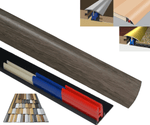
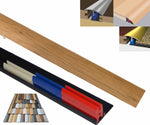
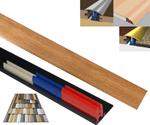
- Finish up. Remove spacers, fit skirting or scotia to cover the gap, and add thresholds at doorways.
Pro Tips
- Never fix skirting/beading to the floor—only to the wall—so the floor can float.
- Open multiple packs and mix boards to blend colour and grain.
- Measure twice, cut once; test-fit tricky boards before clicking home.
Expansion gap: keep ~10 mm at all fixed edges, pipes, pillars, door frames and hearths.


