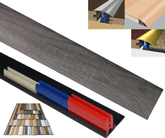
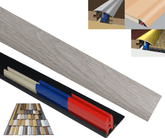
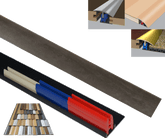
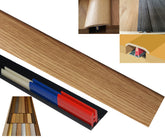
How To Fit A Transitional Adhesive Door Thresholds Using Easyclip System

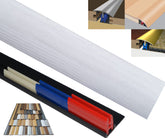
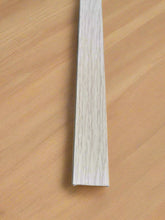
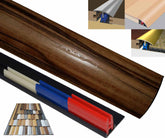
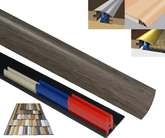
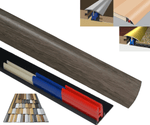
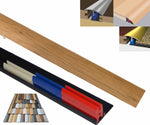
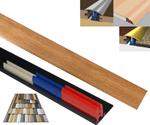
Fitting a door threshold may seem like a big job, but our easyclip system removes a lot of the hard work like drilling and screwing, Following our guide below makes a big difference, Not only does it provide a neat transition between rooms, but it also helps prevent drafts, dirt, and noise from traveling between spaces. This guide walks you through the process of fitting a modern multipurpose adhesive clip system Transitional door threshold making it simple and very affective. Available in 40mm and 50mm widths from 900mm to 1800mm long.
🔧 What You’ll Need:
- Door threshold kit (including base, clips, and top cover)
- Tape measure
- Fine Saw or PVC Snips (for trimming or cutting the base if necessary)
- Coin or flathead screwdriver (for inserting clips)
- Clean cloth & vacuum cleaner (for prepping the surface) & Hard Brush if needed.
Step-by-Step Instructions:
1. Measure and Cut the Base
Begin by measuring the width of the doorway where the threshold will be fitted. Cut the base section and Cover Plate of the threshold to match this length, never cut across the top of the threshold (Always cut upside down as it avoids sliping when using a saw and crushing when using PVC snips). Ensure your cut is clean and straight for a professional finish.
2. Clean the Floor Surface
For the base to adhere properly, the floor must be clean, dry, and free from dust, grease or debris. Use a vacuum & damp cloth, also a hard brush if needed, to prepare the area thoroughly, clearing away all debris in order to leave a nice clean surface to adhere to.
3. Stick the Base in Position
Peel off the backing from your adhesive base. Stick the base directly to the floor where the threshold will sit, ensuring it’s centered in the doorway. Press down firmly for a strong bond.
4. Choose the Right Size Clips
The clips are what hold the top cover in place. Start with the smallest size clips provided in your kit. These clips determine the height and grip of the threshold cover.
Use a coin or flathead screwdriver to help insert the clips into the base, angling the clips as you lever in to position, while keeping the base firmly in place. often end clips can be slid in.
Space them evenly along the length of the base for maximum stability.
Some systems allow clips to be slid in from the ends, while others require them to be pressed in from above.
💡 Tip: If the smallest clips don’t provide a snug fit or the height needed, move up to the next size. You don’t need to remove the smaller clips if you’re trying larger ones — they can usually stay in place without issue.
5. Fit the Top Cover
Once your clips are in position, press the threshold cover down onto them. This can be done at a slight angle, tapping or pressing as needed, until the top locks into place. Adjust the angle and pressure to suit the type of clip and ensure a secure fit, gently rocking into position.
✅ Final Check:
The threshold should feel firm and secure when stepped on.
There should be no noticeable gaps or loose areas.
Ensure it’s level and aligned with the flooring on both sides.
🎉 Job Done!
You’ve successfully fitted your door threshold! This simple improvement not only adds a clean visual line between rooms but also enhances the function and comfort of your home. Whether you're tackling a full renovation or just freshening up a doorway, proper threshold installation is a small detail that makes a big impact.


